Printers Installation
For Window Computers / Staff
Click here to set up student printing(mobility)
Follow instructions below for staff printing
Installation:
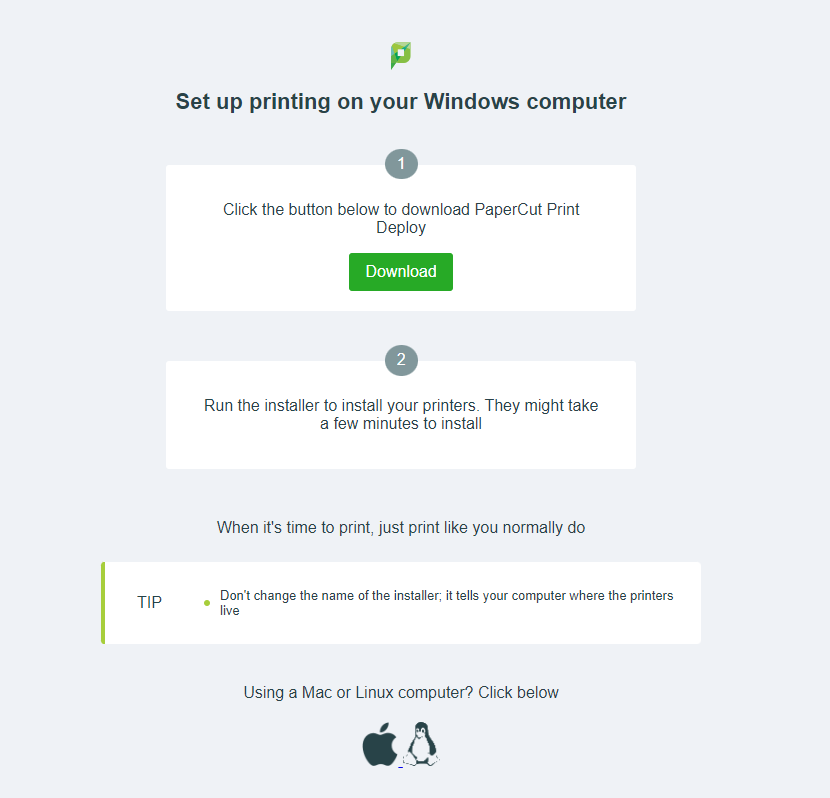
Step 1: Download Papercut client:
Click this link:
Click the green download button as seen in the picture.
Step 1
Step 2: Install the client
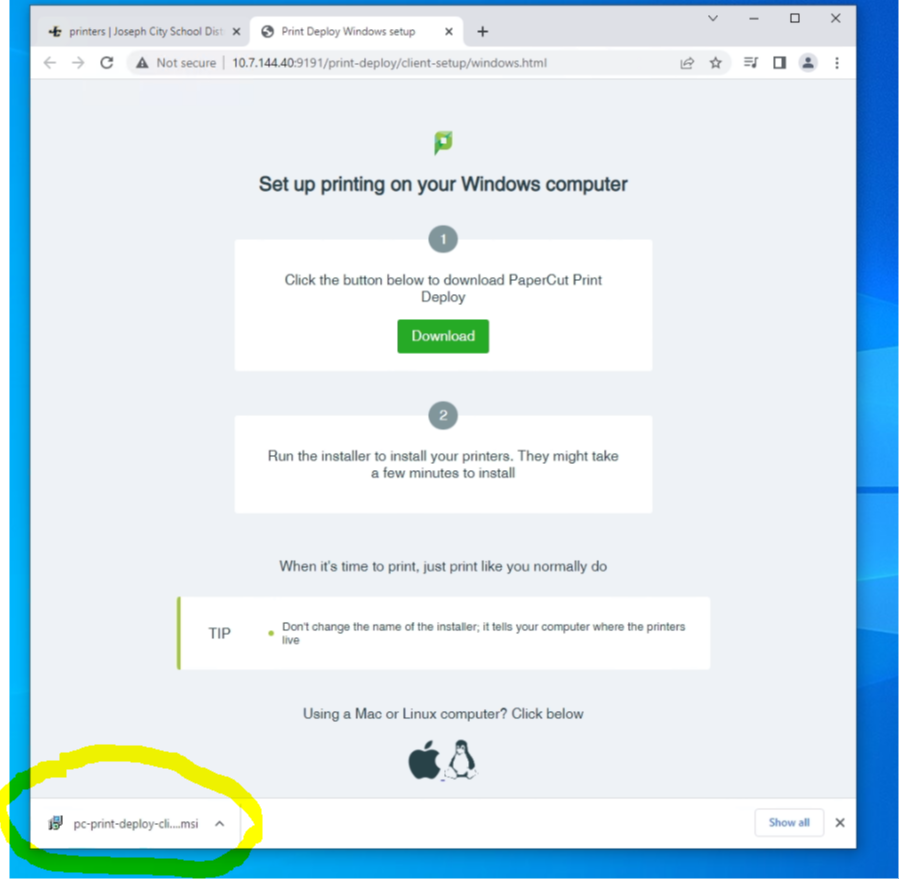
Once the download is finished click on it.
Go through the install by clicking next.
Step 2
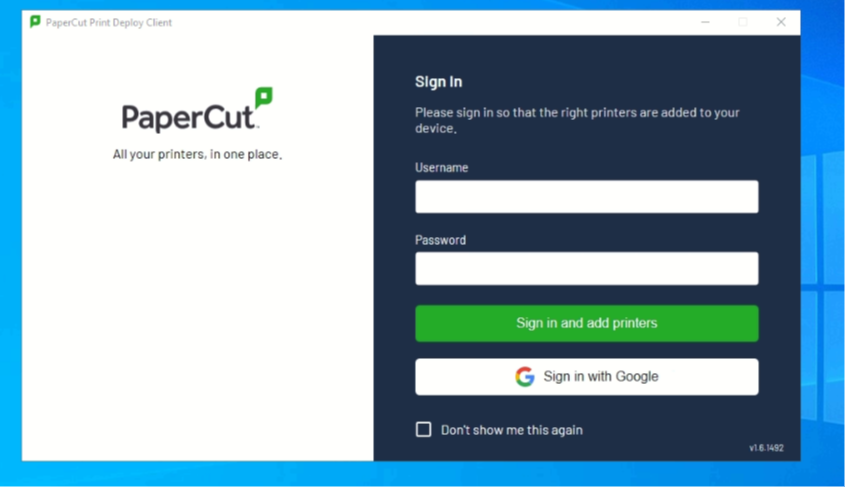
Step 3: Sign in
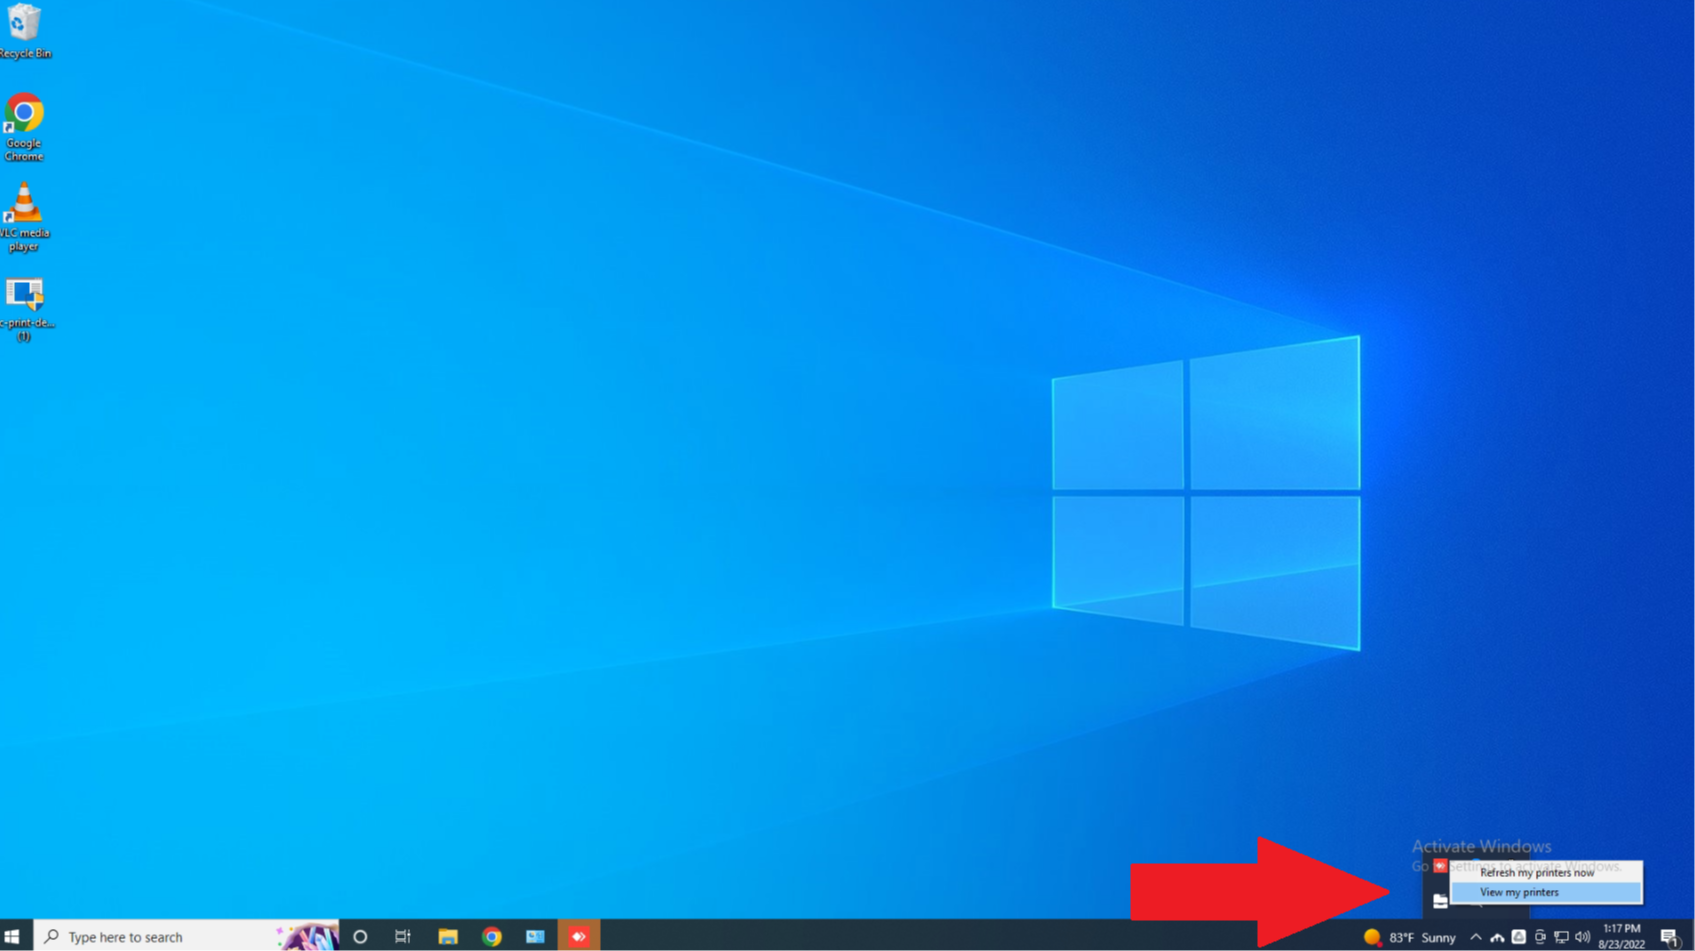
After install is complete. In 2-3 mins you should see a printer icon on the bottom right of your screen, in the popup arrow.
Click on it and select:
View my Printers
Use your school email to login into papercut
Step 3
Step 4: Select printers
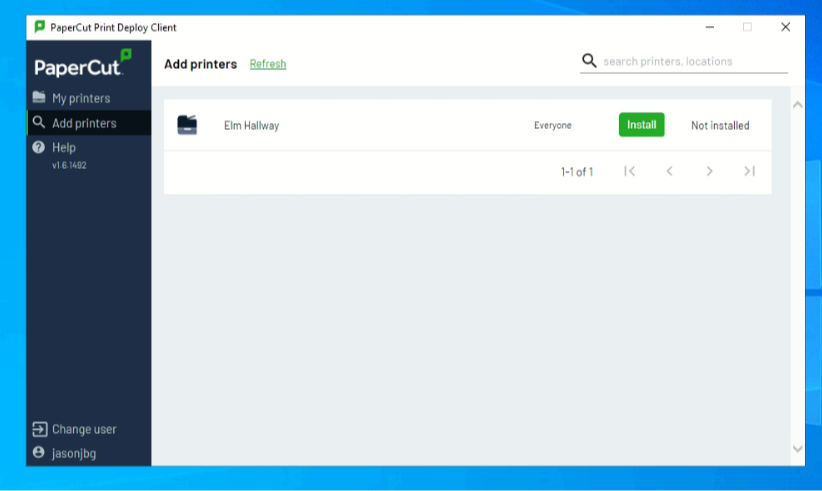
On the left hand side select:
Add printers
Select desired printers and click:
Install
Repeat step 4 to add more printers
Printers that are installed will be under My printers on the left hand side.
Step 4
